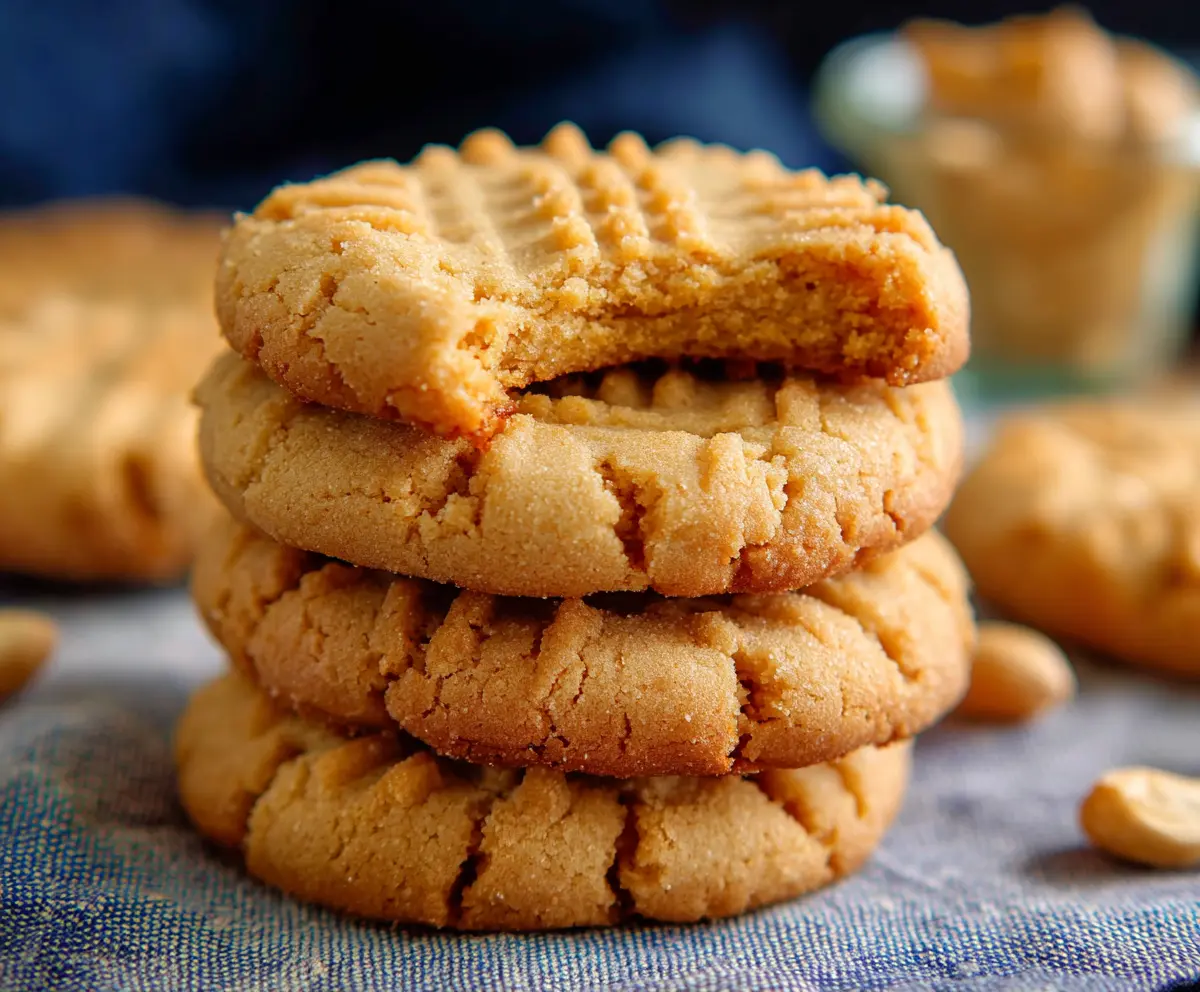
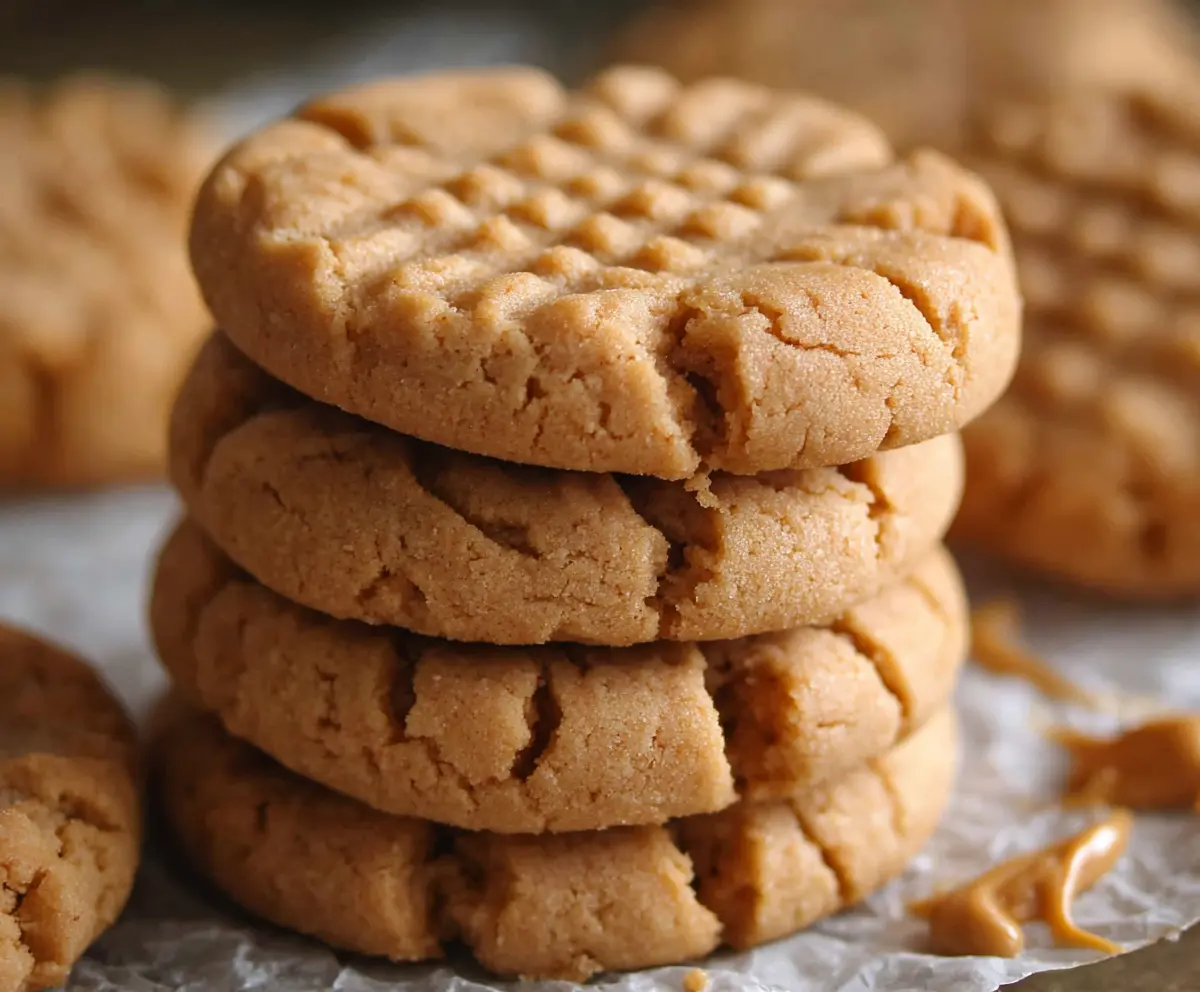
Peanut butter cookies are a classic treat that bring together a soft, chewy texture with a rich, nutty flavor. The star ingredient—creamy peanut butter—makes these cookies irresistibly tasty and filling. You can recognize them right away by their signature crisscross fork marks on top, which add a bit of fun and tradition to every bite.
I love making peanut butter cookies because they’re super easy to whip up, and they fill the house with such a warm, comforting smell. A little tip I always follow is to chill the dough for a bit before baking—it helps the cookies hold their shape better and gives them that perfect soft middle with just a bit of crisp on the edges. Plus, the whole family always sneaks a few before they even make it to the cooling rack!
These cookies are perfect for sharing with friends over a cup of tea or packing in lunchboxes for a sweet surprise. I’ve often found that they go great with a glass of cold milk or even a scoop of vanilla ice cream on the side. Honestly, peanut butter cookies are one of those simple joys that never go out of style, and I’m always happy to have a batch ready for whenever the craving hits.
Key Ingredients & Substitutions
Peanut Butter: Creamy peanut butter helps create that classic smooth texture. If you prefer a bit of crunch, try chunky peanut butter instead. For allergies, sunflower seed butter is a great nut-free alternative.
Butter: Using unsalted butter lets you control the salt level better. Softened butter blends well, giving cookies a soft center and crisp edges. You can swap with margarine, but the flavor changes slightly.
Sugars: A mix of granulated and brown sugar balances sweetness and chewiness. Brown sugar adds moisture and a hint of caramel flavor. If you only have one, just use that, but expect a slight texture change.
Flour & Leavening: All-purpose flour works perfectly for these cookies. Baking soda helps the dough spread and gives a tender crumb. Don’t skip the salt—it brightens all the flavors.
How Do You Get That Perfect Crisscross Pattern on Peanut Butter Cookies?
The iconic fork press pattern isn’t just decorative—it also helps the cookie flatten and bake evenly. Here’s how:
- After rolling the dough into balls, place them on your baking sheet spaced out.
- Take a fork and gently press down on each ball once, then rotate 90 degrees and press again.
- Don’t press too hard; you want the cookie to flatten but keep some thickness for a soft center.
This simple step ensures that your cookies bake evenly and look classic. I always find it fun to do and it signals these cookies are peanut butter favorites!
Equipment You’ll Need
- Mixing bowls – you’ll need one for wet ingredients and one for dry to keep things simple and neat.
- Electric mixer or hand whisk – makes it easy to cream the butter and sugars until fluffy.
- Baking sheet – a flat cookie sheet lets the cookies spread evenly while baking.
- Parchment paper or silicone mat – helps prevent sticking and makes cleanup faster.
- Fork – perfect for making the classic crisscross marks on top of the cookies.
- Wire cooling rack – lets cookies cool evenly and prevents sogginess.
Flavor Variations & Add-Ins
- Add chocolate chips for a sweet contrast that pairs perfectly with peanut butter’s richness.
- Mix in chopped peanuts or walnuts if you like extra crunch and texture.
- Try swapping peanut butter for almond butter to give a different nutty twist.
- Add a pinch of cinnamon or a dash of vanilla extract to boost the flavor depth.
Classic Peanut Butter Cookies
Ingredients You’ll Need:
- 1 cup creamy peanut butter
- 1/2 cup unsalted butter, softened
- 1/2 cup granulated sugar
- 1/2 cup packed brown sugar
- 1 large egg
- 1 teaspoon vanilla extract
- 1 1/4 cups all-purpose flour
- 3/4 teaspoon baking soda
- 1/4 teaspoon salt
How Much Time Will You Need?
This recipe takes about 15 minutes of preparation and 10-12 minutes baking. Add cooling time of about 10 minutes to have your peanut butter cookies ready to enjoy in under 40 minutes!
Step-by-Step Instructions:
1. Prepare Your Oven and Baking Sheet:
Preheat the oven to 350°F (175°C). Line a baking sheet with parchment paper or a silicone baking mat to prevent sticking and make cleanup easier.
2. Mix Wet Ingredients:
In a large bowl, beat together the softened butter, creamy peanut butter, granulated sugar, and brown sugar until the mixture is light and fluffy. Then add the egg and vanilla extract and mix thoroughly.
3. Combine Dry Ingredients:
In a separate bowl, whisk together the all-purpose flour, baking soda, and salt to evenly distribute the leavening and salt.
4. Form the Dough:
Gradually add the dry ingredients to the wet mixture. Stir until a soft dough forms that’s easy to handle.
5. Shape the Cookies:
Roll the dough into 1-inch balls and place them about 2 inches apart on the baking sheet. Flatten each ball gently with the back of a fork, pressing down once, then rotate 90 degrees and press again, creating the classic crisscross pattern.
6. Bake:
Bake the cookies for 10 to 12 minutes or until the edges turn a light golden-brown color.
7. Cool and Enjoy:
Allow the cookies to cool on the baking sheet for about 5 minutes, then transfer to a wire rack to cool completely. Serve with a cold glass of milk or your favorite beverage and enjoy!
Can I Use Natural or Crunchy Peanut Butter Instead of Creamy?
Yes! Natural peanut butter works well but may change the texture slightly, making cookies a bit denser. Crunchy peanut butter adds lovely bits of peanuts for extra crunch and texture.
How Should I Store Leftover Peanut Butter Cookies?
Store cookies in an airtight container at room temperature for up to 5 days. For longer storage, freeze them in a sealed bag or container for up to 3 months. Thaw at room temperature before enjoying.
Can I Make the Dough Ahead of Time?
Absolutely! You can chill the dough in the fridge for up to 24 hours. This helps develop the flavors and makes it easier to handle before baking.
How Can I Make These Cookies Chewier or Crispier?
For chewier cookies, slightly underbake them and let them cool on the baking sheet. For crispier ones, bake a minute or two longer until golden brown. Adjust based on your oven and preference!