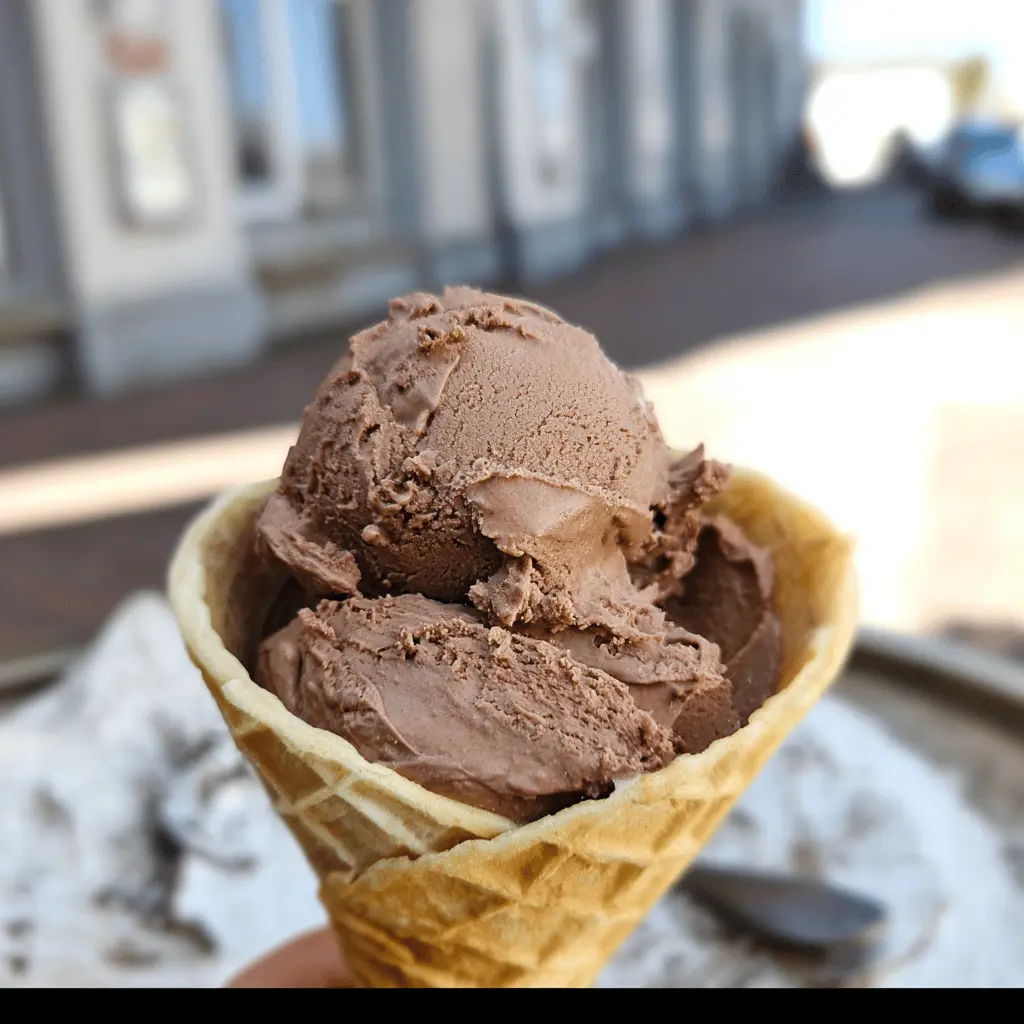
This rich and creamy chocolate ice cream will cool you down and satisfy your sweet tooth. It’s made with simple ingredients like chocolate, cream, and sugar for that classic taste!
Making this ice cream is a breeze! Just mix, chill, and churn. I love serving it with a warm brownie for a fun twist—talk about a chocolate overload! 🍫
Key Ingredients & Substitutions
Heavy Cream: This gives your ice cream a rich and creamy texture. If you want a lighter option, you can mix in some half-and-half, though the texture won’t be quite as decadent.
Whole Milk: Whole milk adds creaminess, but you could use low-fat milk or even almond milk for a dairy-free version. Just remember that the texture may be slightly different.
Granulated Sugar: You can substitute granulated sugar with coconut sugar or a sweetener like honey or maple syrup if you prefer a more natural sweetener. Just adjust the amount based on your taste!
Cocoa Powder: Use unsweetened cocoa powder for a deep chocolate flavor. If you’re feeling adventurous, try using Dutch-process cocoa for a smoother taste.
Chocolate: Semisweet or bittersweet chocolate works best. You can use dark chocolate for a richer flavor. If you want a dairy-free treat, check for dairy-free chocolate options!
What’s the Best Way to Make Sure Your Ice Cream is Creamy?
The key to creamy ice cream is ensuring your mixture is well chilled and properly churned. Here are some tips:
- Make sure the mixture cools completely before putting it in the ice cream maker. This helps form a smoother texture.
- Churn the ice cream until it thickens. Don’t rush this step! Letting it churn properly incorporates air, which is important for a creamy consistency.
- Store in an airtight container to minimize ice crystals forming during freezing, which keeps your ice cream smooth.
Enjoy your homemade ice cream!

Easy Classic Chocolate Ice Cream
Ingredients:
- 2 cups heavy cream
- 1 cup whole milk
- 3/4 cup granulated sugar
- 1/2 cup unsweetened cocoa powder
- 4 ounces semisweet or bittersweet chocolate, finely chopped
- 1 teaspoon pure vanilla extract
- A pinch of salt
How Much Time Will You Need?
This chocolate ice cream takes about 15 minutes of active preparation time and at least 6 hours of total chilling and freezing time. Plan on a couple of hours to chill the mixture and then an additional 4 hours to firm it up in the freezer. It’s totally worth the wait!
Step-by-Step Instructions:
1. Prepare the Chocolate Mixture:
Start by taking a medium saucepan and combining the whole milk, granulated sugar, unsweetened cocoa powder, and a pinch of salt. Place the saucepan over medium heat. Use a whisk to stir the mixture until the sugar and cocoa powder dissolve completely, and the mixture is hot but not boiling. This step creates a lovely chocolate base for your ice cream!
2. Melt the Chocolate:
Once your mixture is hot, take it off the heat and add the finely chopped semisweet or bittersweet chocolate. Stir the mixture until the chocolate melts completely and everything is smooth and creamy. You’ll love how rich it smells!
3. Combine with Cream and Flavor:
Let the chocolate mixture cool slightly, then stir in the heavy cream and pure vanilla extract. This will make your ice cream base creamy and delicious. Give it a good mix so it’s combined well.
4. Chill the Mixture:
Cover the bowl with plastic wrap or a lid and refrigerate the mixture for at least 2 hours, or until it’s thoroughly chilled. This step is important for a smooth texture in your final ice cream.
5. Churn the Ice Cream:
Once chilled, pour the mixture into your ice cream maker. Churn it according to the manufacturer’s instructions. This usually takes about 20-25 minutes until it reaches a soft-serve consistency.
6. Freeze to Firm Up:
After churning, transfer your soft ice cream into an airtight container. Spread it out evenly and cover tightly. Freeze for a minimum of 4 hours or overnight to allow it to firm up completely.
7. Serve and Enjoy:
When it’s time to enjoy your chocolate ice cream, scoop it into bowls or cones. You can top it off with chocolate shavings, sprinkles, or even some whipped cream if you like. Dig in and savor the creaminess of your homemade classic chocolate ice cream!
Enjoy your creamy, rich classic chocolate ice cream!
Frequently Asked Questions (FAQ)
Can I Use Low-Fat Milk Instead of Whole Milk?
Yes, you can use low-fat milk to cut down on calories, but keep in mind that it will affect the creaminess of the ice cream. For a similar texture, consider using half-and-half instead of low-fat milk.
How Do I Store Leftover Ice Cream?
Store any leftover ice cream in an airtight container to prevent ice crystals from forming. Seal it tightly and keep it in the freezer for up to two weeks for the best texture and flavor.
Can I Make This Ice Cream Without an Ice Cream Maker?
Absolutely! Simply pour the chocolate mixture into a shallow dish after chilling and freeze it. Every 30 minutes, stir it with a fork to break up any ice crystals until it’s fully frozen and fluffy (about 3-4 hours).
What Other Add-Ins Can I Include?
Feel free to mix in your favorite toppings! Chopped nuts, chocolate chips, or cookie pieces can add extra texture and flavor. Just fold them in gently after churning.