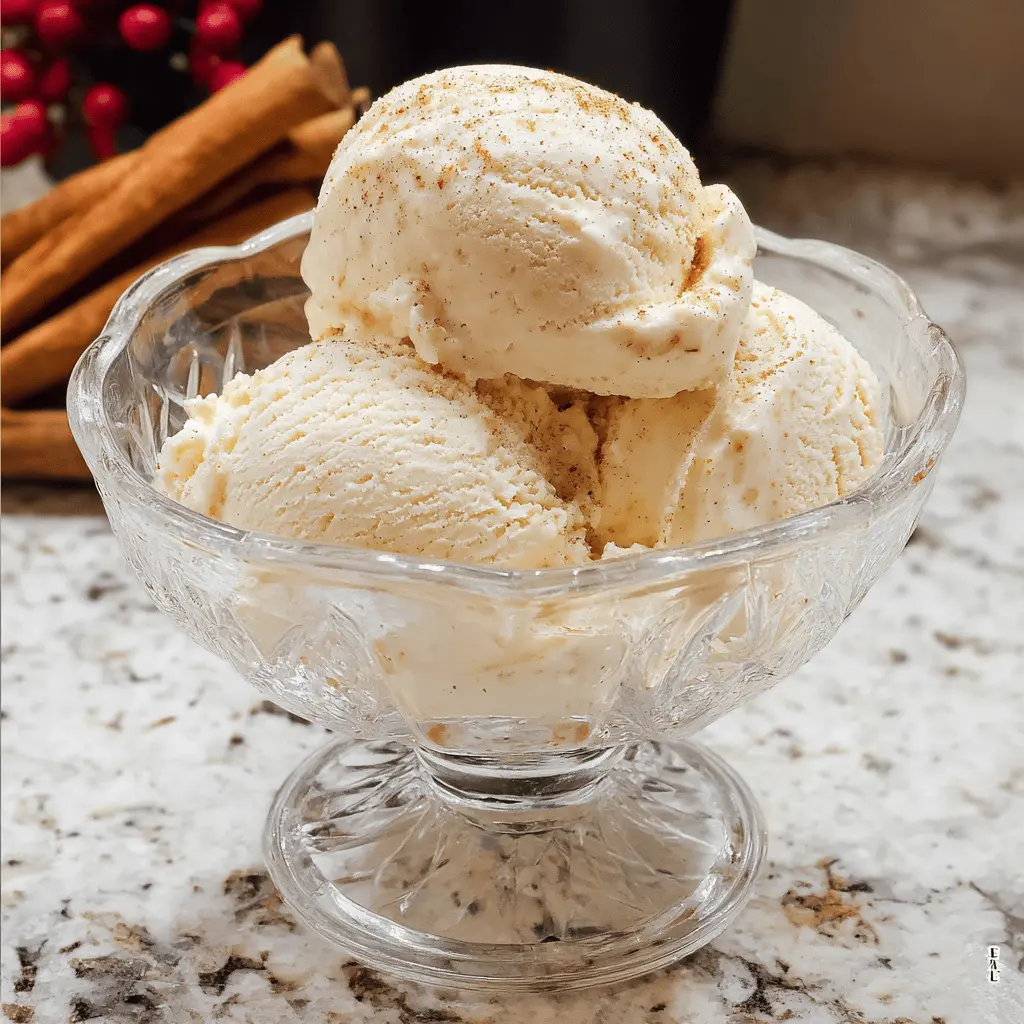
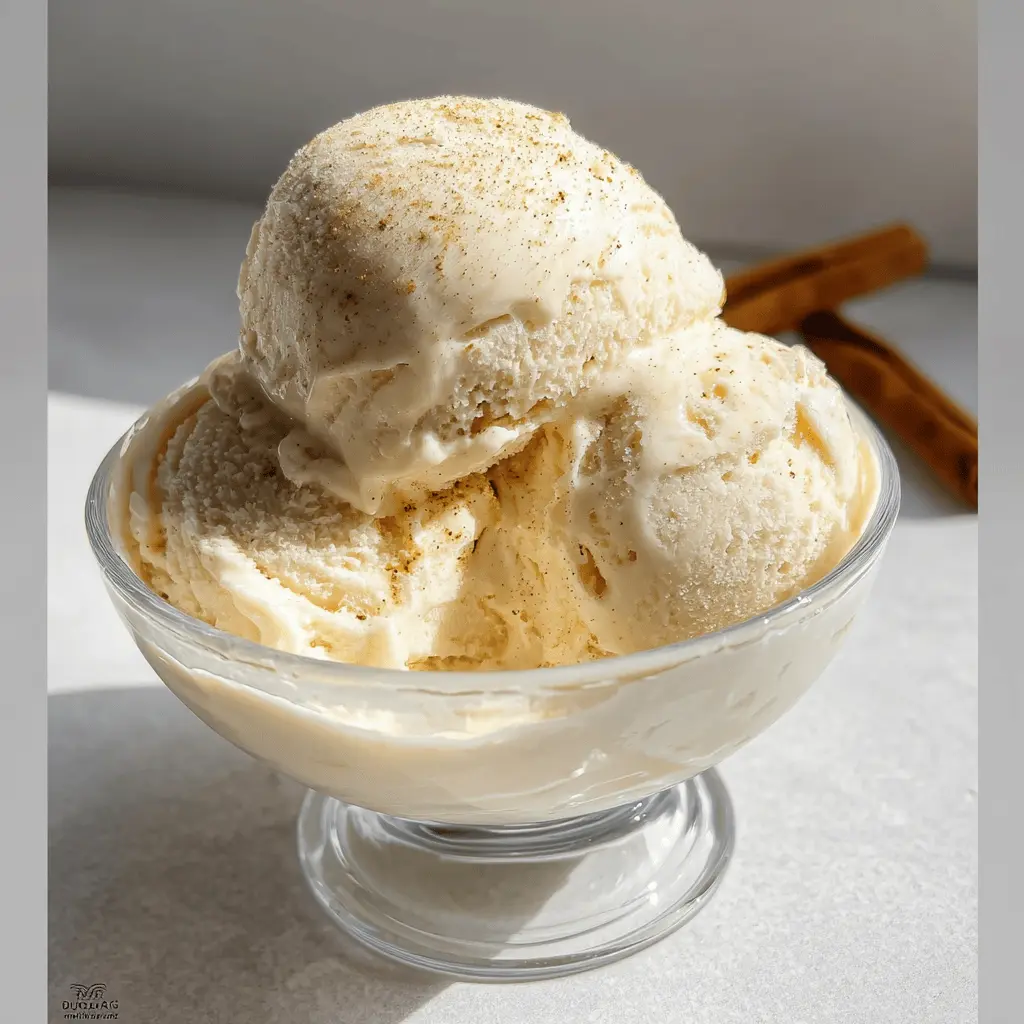
This creamy homemade eggnog ice cream brings holiday cheer to your dessert table! Made with rich eggnog and a touch of nutmeg, it’s a sweet treat that feels oh-so-festive.
Honestly, what’s better than scooping up a bowl of this deliciousness? I enjoy it topped with a sprinkle of cinnamon for extra flair, reminding me of cozy winter nights! 🍦✨
Key Ingredients & Substitutions
Eggnog: This is the star! You can use store-bought eggnog for ease, or make your own. If you want a lighter version, try a non-dairy eggnog alternative or coconut milk for a different taste.
Heavy Cream: Look for heavy cream for the rich texture. If you need a lighter option, half-and-half works too, though it won’t be as creamy. You can also try coconut cream for a vegan twist!
Granulated Sugar: Regular sugar does the trick, but if you prefer a less processed option, use coconut sugar or maple syrup. Just note that it may change the flavor slightly.
Nutmeg: Freshly grated nutmeg gives the best flavor! If it’s not available, ground nutmeg works. Remember to add extra on top for that cozy vibe.
How Do You Achieve a Smooth Custard Without Scrambling the Eggs?
The key to a silky custard is the tempering process. Tempering involves gradually warming the egg yolks to prevent them from cooking too fast. Here’s how to do it:
- Whisk the egg yolks with sugar until creamy.
- While whisking, slowly add warm eggnog mixture to the yolks to raise their temperature.
- Once combined, pour the yolk mixture back into the saucepan while stirring continuously.
- Stir gently over medium-low heat until it thickens without curdling.
This method helps keep your custard smooth, creating a lovely base for your ice cream!
How to Make Creamy Homemade Eggnog Ice Cream
Ingredients You’ll Need:
- 2 cups eggnog (store-bought or homemade)
- 1 cup heavy cream
- 1 cup whole milk
- 3/4 cup granulated sugar
- 4 large egg yolks
- 1 teaspoon vanilla extract
- 1/2 teaspoon ground nutmeg, plus extra for garnish
- Pinch of salt
- Optional: cinnamon sticks for garnish
How Much Time Will You Need?
This delightful homemade eggnog ice cream will take about 15-20 minutes of active prep time, but you’ll need to account for at least 4 hours of chilling time in the refrigerator and an additional 4 hours in the freezer to firm up completely. So, it’s best to make this the day before you plan to serve it!
Step-by-Step Instructions:
1. Prepare the Base:
In a medium saucepan, mix together the eggnog, heavy cream, and whole milk. Heat the mixture over medium heat until it’s warm but NOT boiling—around 170°F (77°C) should do. Once it’s warm, remove it from heat and set it aside.
2. Whisk the Egg Yolks:
In a separate bowl, take your granulated sugar and egg yolks, and whisk them together until the mixture becomes pale and creamy. This helps to incorporate air for a fluffier texture in your ice cream.
3. Temper the Egg Yolks:
Now, carefully pour about half of the warm eggnog mixture into the egg yolks, whisking constantly. This step is crucial as it warms the yolks gradually, preventing them from scrambling. Once combined, pour the egg yolk mixture back into the saucepan with the remaining eggnog mixture.
4. Cook the Custard:
Return the saucepan to medium-low heat. Stir continuously using a wooden spoon or heatproof spatula until the custard thickens enough to coat the back of the spoon. Aim for around 170–175°F (77–80°C). Make sure to stir gently to avoid scrambling the eggs!
5. Strain and Flavor:
Remove the saucepan from heat. Use a fine mesh sieve to strain the custard into a clean bowl to catch any curdled bits. Then, stir in the vanilla extract, ground nutmeg, and a sprinkle of salt for that extra depth of flavor.
6. Cool and Chill:
Let your custard cool to room temperature (give it a nice stir every now and then). Once cooled, cover it and place it in the refrigerator for at least 4 hours, but preferably overnight. This allows the flavors to meld beautifully!
7. Churn the Ice Cream:
Once chilled, pour the custard into your ice cream maker. Follow the manufacturer’s instructions and churn it for about 20-30 minutes until it reaches a soft-serve consistency.
8. Freeze and Serve:
Transfer the churned ice cream to a lidded container and freeze it for at least 4 hours, or until it’s nice and firm. When you’re ready to serve, scoop out your creamy eggnog ice cream into bowls or glasses. Don’t forget to garnish with a sprinkle of nutmeg and a cinnamon stick for that festive touch!
Now, sit back, enjoy, and relish every creamy bite of your homemade eggnog ice cream! Perfect for holiday celebrations or simply satisfying your sweet tooth! 🎉🍦🥳
Frequently Asked Questions about Creamy Homemade Eggnog Ice Cream
Can I Use Store-Bought Eggnog?
Absolutely! Store-bought eggnog makes this recipe super convenient and saves time, especially during the busy holiday season. Just look for a high-quality brand for the best flavor!
How Can I Make Eggnog Ice Cream Without Raw Eggs?
If you prefer not to use raw eggs, you can substitute them by using a custard base made with cornstarch instead. Mix 1-2 tablespoons of cornstarch with a bit of milk before heating. Skip the egg yolks and cook the mixture until it’s thickened—this will create a similar creamy texture!
Can I Make This Ice Cream Dairy-Free?
Yes! For a dairy-free version, substitute the heavy cream and whole milk with coconut milk or another non-dairy milk. Ensure the eggnog you choose is also dairy-free to match!
What’s the Best Way to Store Leftovers?
Store leftover ice cream in an airtight container in the freezer for up to 2 weeks. When ready to serve, let it sit at room temperature for a few minutes to soften slightly for easier scooping.
Feel free to whip up this delightful treat and customize it to suit your needs! Enjoy! 🍦🎉