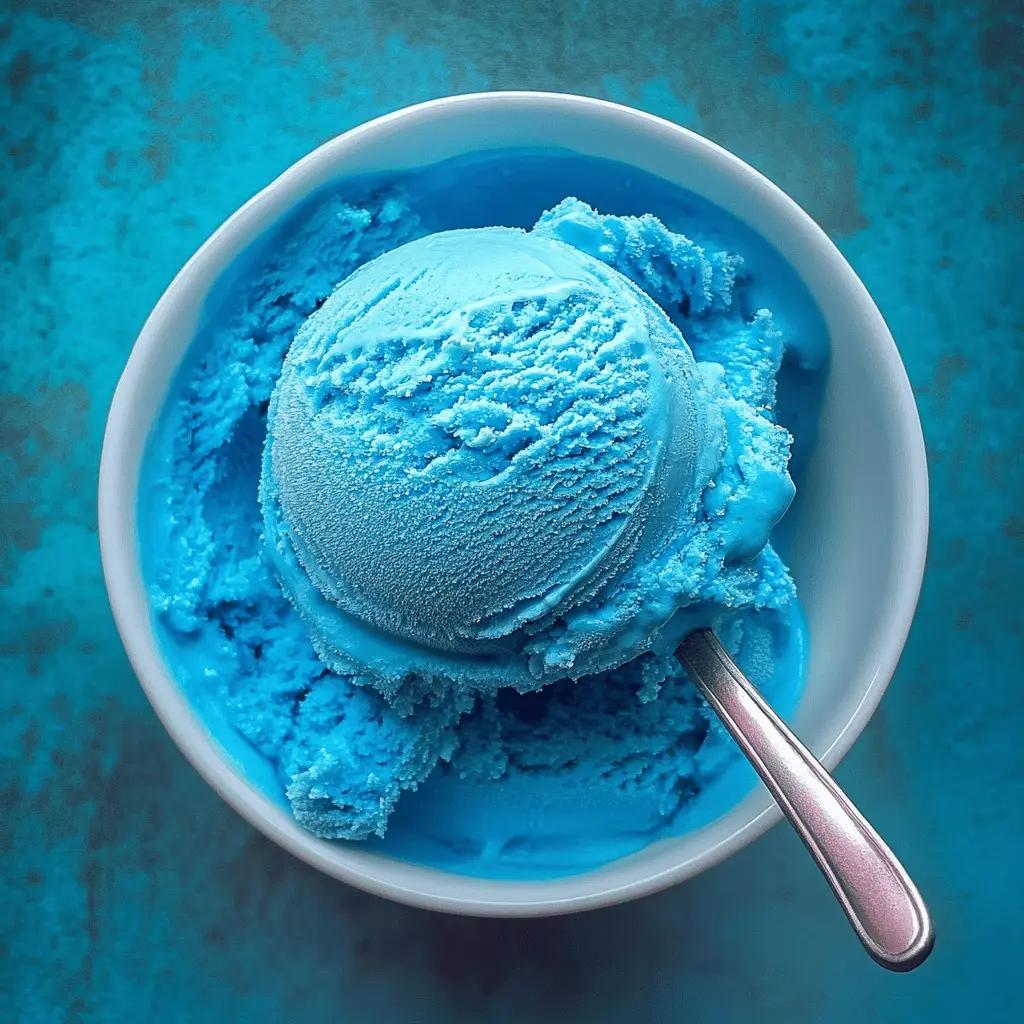
This nostalgic Blue Moon Ice Cream is a treat that brings back sweet childhood memories! Its unique blue color and fruity flavor make it fun and refreshing, perfect for summer days.
You won’t believe how easy it is to make! Just mix a few simple ingredients, churn it up, and enjoy a scoop (or two!). I like to add sprinkles for a fun topping—because why not? 🎉
Key Ingredients & Substitutions
Heavy Cream: This is crucial for that rich, creamy texture in your ice cream. If you’re looking for a lighter option, you can substitute half-and-half, but the texture may be less creamy.
Whole Milk: Using whole milk gives a nice balance to the creaminess. If you want a dairy-free version, try unsweetened almond milk or coconut milk, but keep in mind the flavor might change a bit!
Granulated Sugar: You need sugar for sweetness. For a healthier option, consider using honey or agave syrup, but adjust the quantity since they are sweeter than sugar.
Extracts: The combination of vanilla and almond extracts is key for that classic Blue Moon flavor. If you don’t have almond extract, pure vanilla will work, or you could try hazelnut for a fun twist!
Food Coloring: Blue food coloring is what gives this ice cream its identity. If you prefer a natural option, blue spirulina powder is a great choice, although it may alter the flavor slightly.
How Can I Ensure My Ice Cream Is Creamy and Not Icy?
The secret to a creamy texture lies in the mix and how you churn it. Start with cold ingredients and make sure to whisk until the sugar dissolves. When you pour it into the ice cream maker, keep an eye on it while churning.
- Churn until it’s thickened and holds a shape—this usually takes about 20-25 minutes.
- Transfer it to an airtight container quickly to limit ice crystal formation.
- Freeze it for at least 4 hours to firm up the texture.
It’s the waiting that gets you, but trust me, the creamy result will be worth it! Enjoy your scoop of nostalgia! 🍦
Classic Blue Moon Ice Cream
Ingredients You’ll Need:
- 2 cups heavy cream
- 1 cup whole milk
- 3/4 cup granulated sugar
- 1 tablespoon vanilla extract
- 1 teaspoon almond extract
- 1 teaspoon lemon extract or lemon juice
- Blue food coloring (as needed for vibrant color)
- Optional: a few drops of raspberry or cherry extract for fruity undertone
How Much Time Will You Need?
This recipe takes about 10-15 minutes to prepare and will require at least 4 hours to freeze after churning. It’s a straightforward process to mix everything together, then you just let the ice cream maker do its magic!
Step-by-Step Instructions:
1. Mix the Base:
Start by pouring the heavy cream, whole milk, and granulated sugar into a large mixing bowl. Use a whisk to mix these ingredients together until the sugar is completely dissolved. This step is important because it ensures that your ice cream is sweet and smooth!
2. Add the Flavorings:
Next, stir in the vanilla extract, almond extract, and lemon extract or juice. These extracts are key to achieving the signature Blue Moon flavor, so don’t skip this part!
3. Color It Blue:
Now comes the fun part! Add a few drops of blue food coloring to the mixture. Start with a couple of drops and mix it in until you reach your desired shade of bright blue. Remember, the color will lighten a little when frozen.
4. Enhance the Flavor (Optional):
If you want a little extra fruity twist, feel free to add a few drops of raspberry or cherry extract. It’ll enhance the classic taste of Blue Moon ice cream, making each scoop even more delightful!
5. Churn the Ice Cream:
Take your mixture and pour it into your ice cream maker. Churn according to the manufacturer’s instructions for about 20-25 minutes. You’ll notice it thickening up to a creamy texture.
6. Freeze It Firm:
Once your ice cream is done churning, transfer it to an airtight container. Place the container in the freezer and let it sit for at least 4 hours or until it’s fully firm. This step is essential for that perfect scoopability!
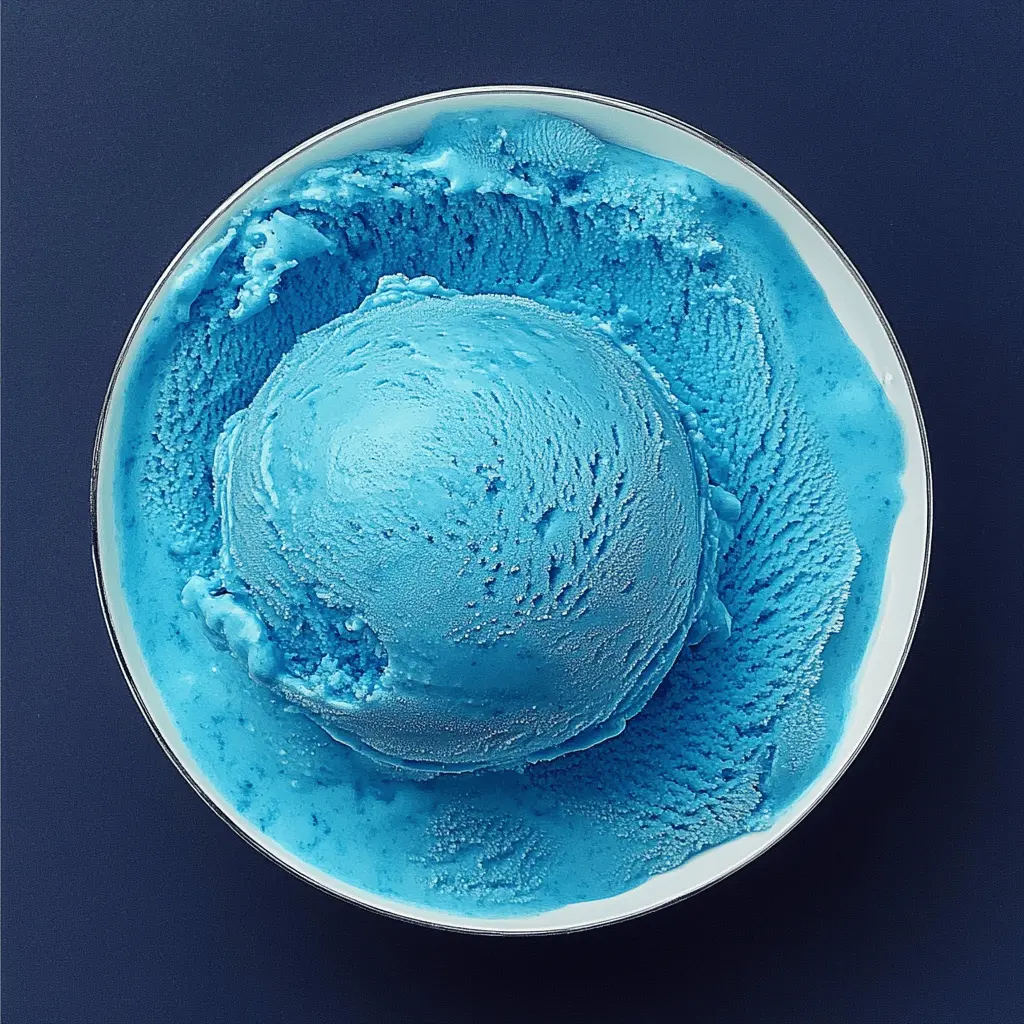
7. Serve and Enjoy!
Finally, it’s time for the best part! Scoop your Blue Moon ice cream into bowls or cones. Enjoy every colorful bite and savor the delicious nostalgia of this classic treat!
FAQ
Can I Substitute the Heavy Cream?
Yes, you can substitute half-and-half for a lighter version, but keep in mind the texture won’t be as creamy. For a dairy-free option, use coconut cream or cashew cream, although the flavor will differ slightly.
How Much Food Coloring Should I Use?
Start with just a couple of drops of blue food coloring. Mix well and check the color, adding more as needed until you achieve your desired vibrant shade. Remember that the color may lighten slightly once frozen!
Can I Make This Ice Cream Without an Ice Cream Maker?
Absolutely! If you don’t have an ice cream maker, pour the mixture into a shallow dish and freeze it. Stir the mixture every 30 minutes for the first 2-3 hours to break up ice crystals until it reaches the desired consistency.
How Should I Store Leftover Ice Cream?
Store any leftover ice cream in an airtight container in the freezer. To maintain its texture, press a piece of parchment paper directly onto the surface before sealing the container. It will stay fresh for about 1-2 weeks!