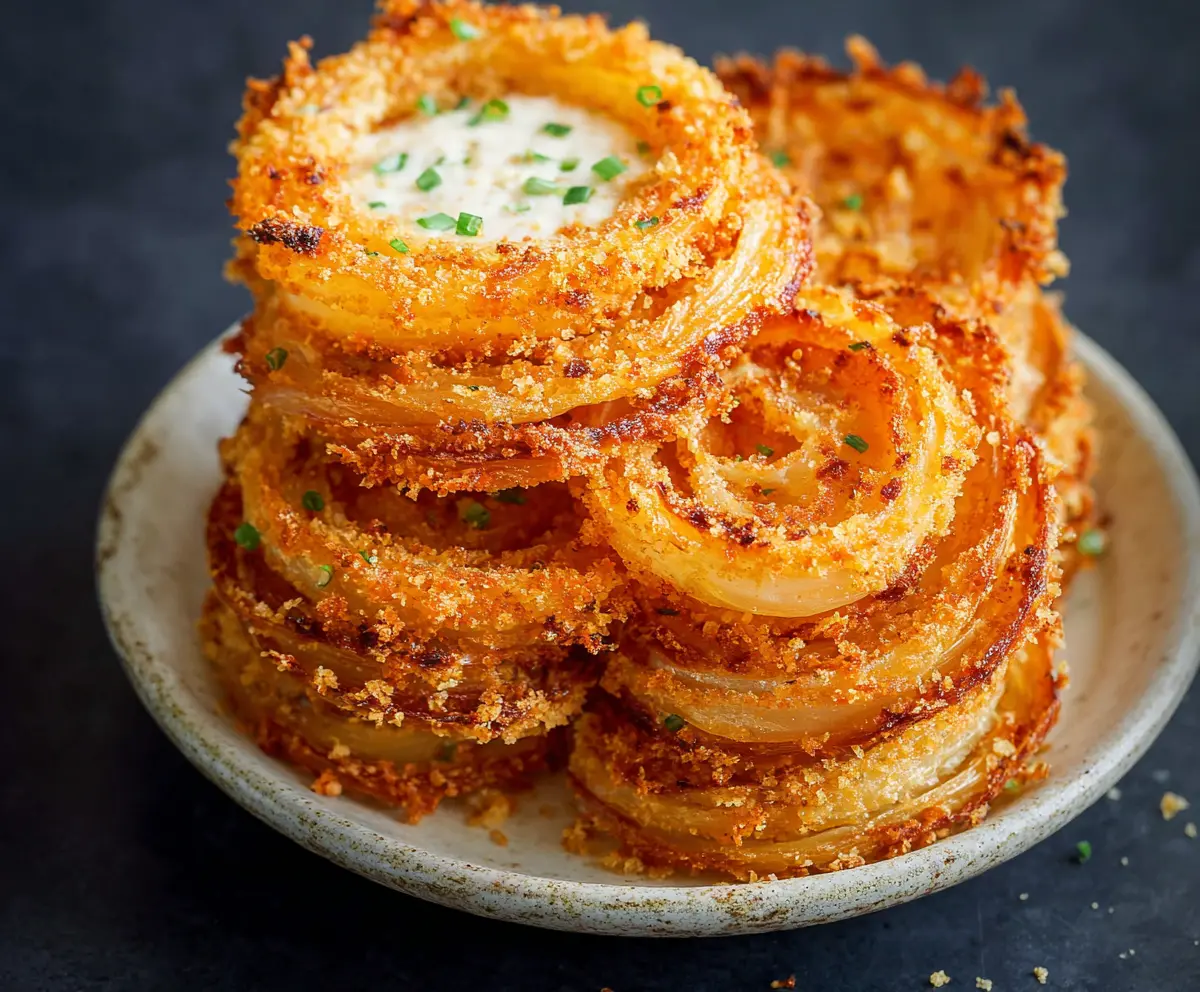
Crispy Parmesan Onion Ring Chips are the perfect combination of crunchy, cheesy, and a little bit savory. These chips start with sweet onion rings coated in a crispy Parmesan crust that gives each bite a satisfying crunch and a burst of flavor. They’re a fun twist on your traditional onion rings, baked or fried to golden perfection.
I love making these when I want something snacky but a bit special. The Parmesan adds that wonderful salty flavor that keeps everyone reaching for more. I usually make a big batch, and they disappear quickly, especially when served hot and fresh. A little tip I use is to make sure the coating sticks well by dipping the onions in an egg wash before the Parmesan mixture.
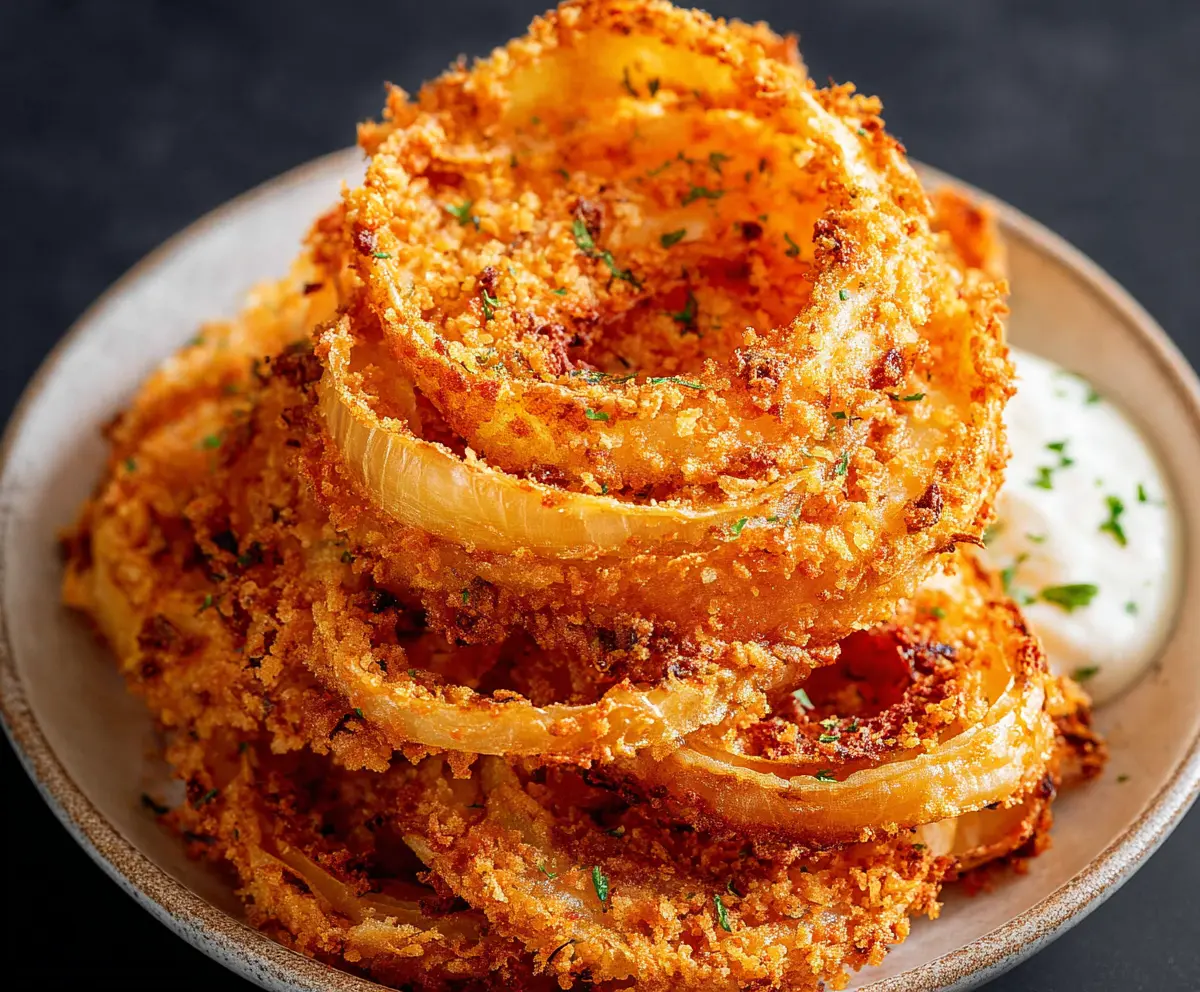
These Crispy Parmesan Onion Ring Chips are great on their own or with your favorite dipping sauce like ranch, marinara, or even a spicy aioli. I often serve them as a fun appetizer for friends or a crunchy side to a casual burger night. They always bring smiles and are perfect for sharing around the table.
Key Ingredients & Substitutions
Onions: Use large sweet onions like Vidalia or Walla Walla for natural sweetness and milder flavor. They crisp nicely. If unavailable, yellow onions work fine but are a bit stronger.
Panko Breadcrumbs: Panko creates a light, crunchy coating. You can substitute with regular breadcrumbs but expect a denser crust.
Parmesan Cheese: Grated Parmesan adds great salty, nutty flavor. Pecorino Romano works well too, and is a bit sharper.
Egg Wash: The eggs mixed with water help the coating stick. For a vegan option, try aquafaba or plant-based milk mixed with a little flour.
How Do You Get Onion Rings Extra Crispy and Golden?
Here’s how to achieve that perfect crunch:
- Slice onions evenly about 1/4 inch thick to cook uniformly.
- Use a three-step coating: flour, egg wash, then the Parmesan-panko mix. This creates layers that hold on tight.
- When baking, don’t crowd the pan; leave space so hot air circulates and crisps every side.
- Lightly spray with cooking oil on top before baking to encourage that golden finish.
- If frying, keep oil temperature steady around 350°F to cook without greasiness.
A little patience and attention make all the difference in turning simple onion rings into crispy Parmesan chips everyone will want seconds of.
Equipment You’ll Need
- Baking sheet – perfect for spreading out onion rings so they crisp evenly without steaming.
- Mixing bowls – you’ll need three for the flour, egg wash, and breadcrumb mixture to keep coating easy and organized.
- Wire rack (optional) – great for draining fried rings or cooling baked ones so they stay crunchy on all sides.
- Whisk or fork – to beat the eggs and water into a smooth wash that helps the coating stick well.
- Tongs or fork – handy for dipping and flipping onion rings without getting your hands messy.
Flavor Variations & Add-Ins
- Add a pinch of cayenne or chili powder to the breadcrumb mix for a spicy kick that wakes up the cheesy flavor.
- Try mixing shredded sharp cheddar into the Parmesan coating for a sharper, richer taste.
- Sprinkle in dried Italian herbs like oregano or basil into the breadcrumb mix to give a fresh herbaceous note.
- Swap out onions for thick-sliced zucchini or eggplant rings for a fun, veggie twist with the same crispy crust.
Crispy Parmesan Onion Ring Chips Recipe
Ingredients You’ll Need:
For the Onion Rings:
- 2 large onions, peeled and sliced into 1/4-inch thick rings
For the Coating:
- 1 cup all-purpose flour
- 2 large eggs
- 1 tablespoon water
- 1 cup panko breadcrumbs
- 1/2 cup grated Parmesan cheese
- 1 teaspoon garlic powder
- 1/2 teaspoon smoked paprika (optional)
- 1/2 teaspoon salt
- 1/4 teaspoon black pepper
Extras:
- Cooking spray or oil for baking/frying
- Fresh chopped chives or parsley for garnish (optional)
- Dipping sauce of choice (ranch, aioli, or sour cream-based sauce)
How Much Time Will You Need?
This recipe takes about 10 minutes to prep and 15-20 minutes to bake or 2-3 minutes to fry. In total, plan for around 30 minutes from start to finish, depending on your cooking method.
Step-by-Step Instructions:
1. Prepare Your Cooking Area:
Preheat your oven to 425°F (220°C) if baking. Line a baking sheet with parchment paper or lightly grease it. If frying, prepare a deep pan with oil and heat to 350°F (175°C).
2. Separate the Onion Rings:
Carefully separate onion slices into individual rings. Discard any very small or broken pieces for even cooking.
3. Set Up the Coating Stations:
Use three bowls for coating: one with flour, one with beaten eggs and water, and one with a mixture of panko breadcrumbs, Parmesan cheese, garlic powder, smoked paprika, salt, and pepper.
4. Coat the Onion Rings:
Dip each onion ring into the flour first, shake off excess, then dip into the egg wash, and finally press into the Parmesan and breadcrumb mixture, making sure it sticks well.
5. Cook the Onion Rings:
Arrange the coated rings on the baking sheet in a single layer. Lightly spray the tops with cooking spray. Bake for 15-20 minutes, flipping halfway through, until golden and crispy. If frying, fry the rings for about 2-3 minutes until golden, and drain on paper towels.
6. Serve and Enjoy:
Let the onion rings cool slightly. Garnish with fresh chives or parsley if desired. Serve immediately with your favorite dipping sauce.
Can I Make These Onion Rings Ahead of Time?
Yes! You can prepare and coat the onion rings in advance, then refrigerate them for up to 4 hours before cooking. For best crispiness, bake or fry just before serving.
What’s the Best Substitute for Parmesan Cheese?
Pecorino Romano or Asiago cheeses work well as substitutes and bring a similar salty, tangy flavor. Avoid processed cheese to keep the coating crisp.
Can I Use Frozen Onions for This Recipe?
It’s best to use fresh onions because frozen ones release extra moisture, which can make the coating soggy. If using frozen onions, make sure to thaw and pat them very dry before coating.
How Should I Store Leftovers?
Store leftover onion rings in an airtight container in the fridge for up to 2 days. Reheat in a preheated oven at 350°F (175°C) for about 5-7 minutes to keep them crispy.